Configuration Manager–Installing ConfigMgr w/SP2
Once you launch the installation, click on “Configuration Manager 2007 SP2” under the Install section.
[image unavailable]
Click “Next”.
[image unavailable]
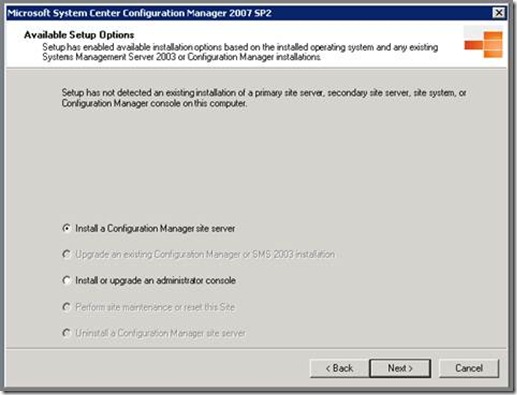
Select “Install a Configuration Manager site server” and then click “Next”.
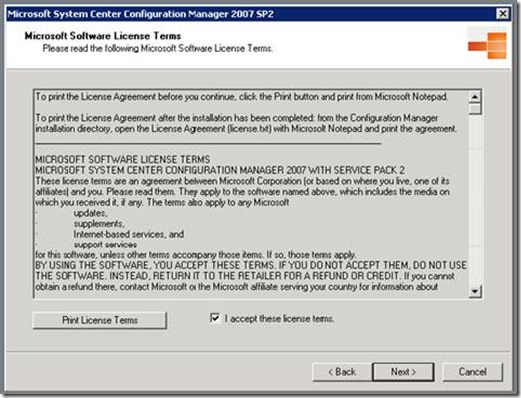
Click “I accept these license terms” and then click “Next”.
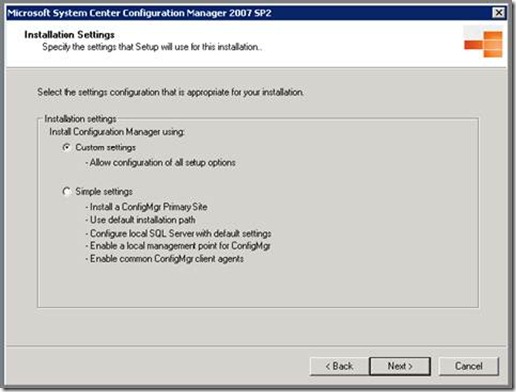
Select “Custom Settings” and then click on “Next”.
Select “Primary Site” and then click on “Next”.
[image unavailable]
Select “No I do not want participate right now” and then click on “Next”.
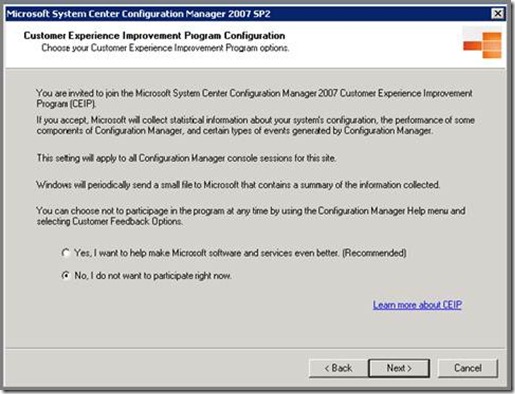
Click on “Next”.
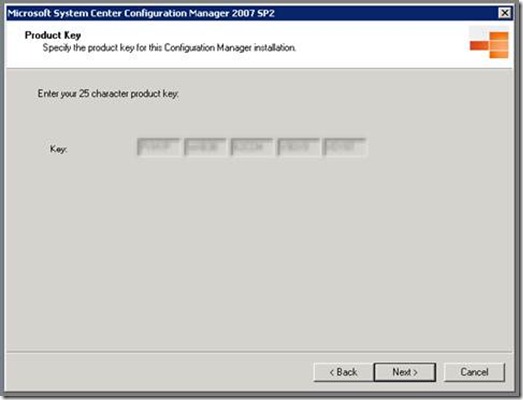
Select the Installation path.
[image unavailable]
Enter the desired Site code and Site name.
[image unavailable]
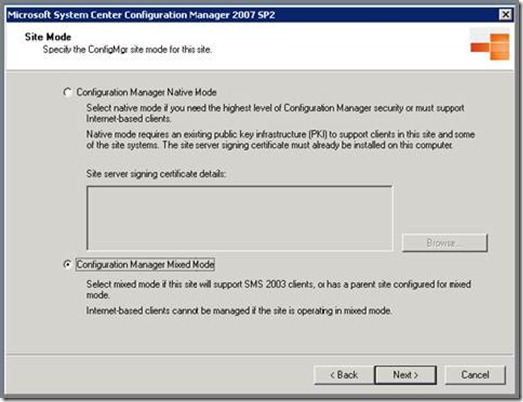
Select “Configuration Manager Mixed Mode” and click on “Next”.
Select the client agents you want enabled during the installation. Then click on “Next”.
[image unavailable]
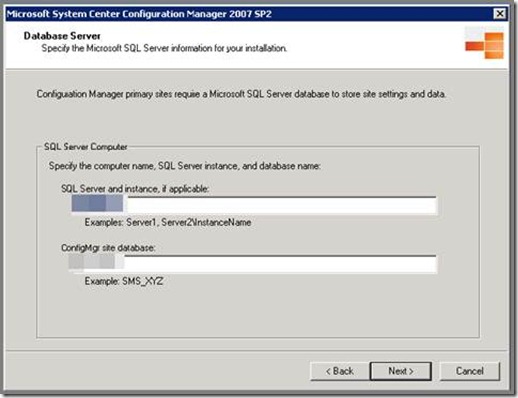
Configure the SQL server and site database name if different from the defaults. Then click on “Next”.
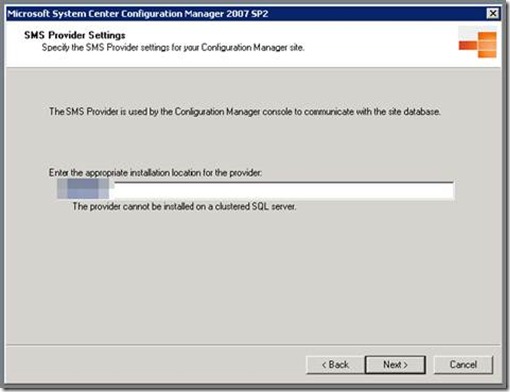
Configure the provider if different from the default provider. Then click on “Next”.
Select “Install a Management point” and then click on “Next”.
[image unavailable]
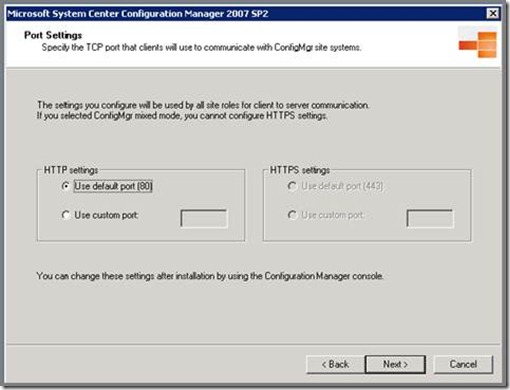
Configure the HTTP settings, use a custom port is desired. Then click on “Next”.
Select “Check for updates and download newer versions to an alternate path”, or select the path of the updates you have previously downloaded. Then click on “Next”.
[image unavailable]
Configure the path where the downloads should be saved. Then click on “Next”.
[image unavailable]
The downloads will download.
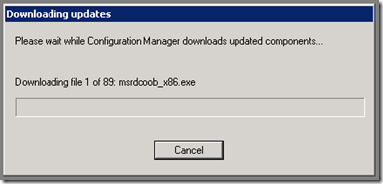
Once completed, you will received a completion notice. Click “ok”.
[image unavailable]
After the updates have been downloaded, you will receive a installation summary window. Click on “Next” to continue with the installation.
[image unavailable]
The installation Prerequisite checker will launch and will show any warnings for your site. You will need to resolve as many as possible before you proceed with the installation. You will not be able to click on “Begin Install” if there are any show stoppers. Click on “Begin Install” to start the installation.
[image unavailable]
The installation has started.
[image unavailable]
Once the installation has completed, you will be shown a summary of actions. Click “Next” to continue.
[image unavailable]
Click “Finish” to exit the installation.
[image unavailable]
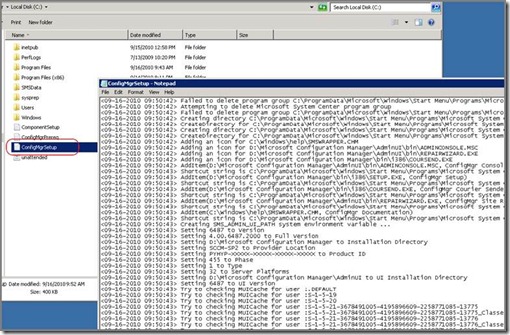
Review the ConfigMgrSetup.log located on the root of the C: drive to review any installation errors.