Configuration Manager - Installing Windows Server Update Services 3.0 SP2 to support Software Update Services
From the archive (2010). Written for the tools of the time, so some details may be out of date.
Download WSUS 3.0 SP2 from here:
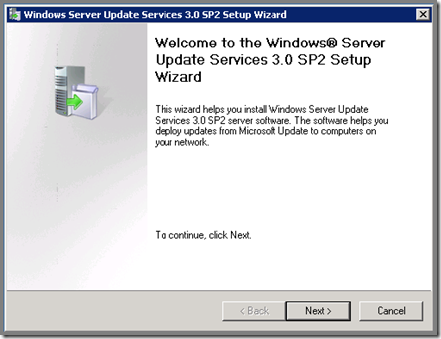
Launch the installation. Click “Next”.
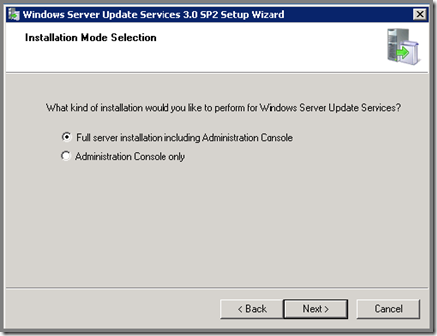
Select “Full server installation including Administration Console” and click “Next”.
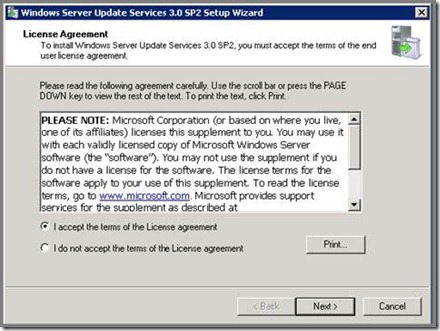
Click “I accept the terms of the License agreement” and click “Next”.
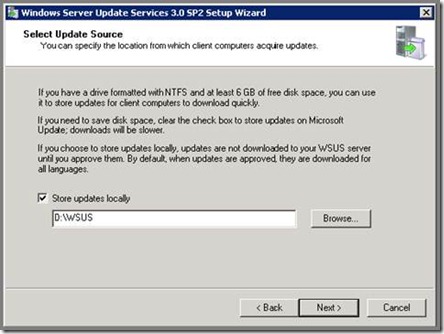
Select the location to store the WSUS updates and click “Next”.
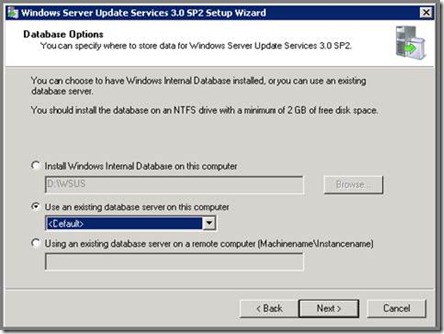
Select “Use an existing database server on this computer” and click “Next”.
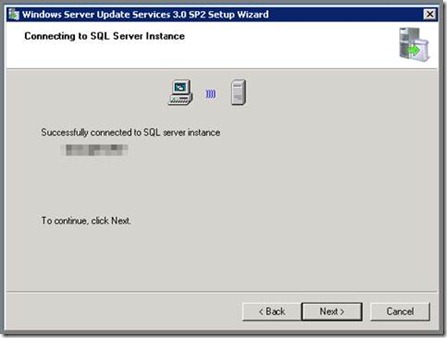
The installation will connect to the database, once it does, click “Next” to continue.
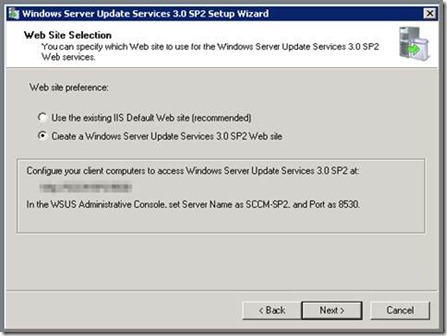
Select “Create a Windows Server Update Services 3.0 SP2 Web Site” and select “Next”.
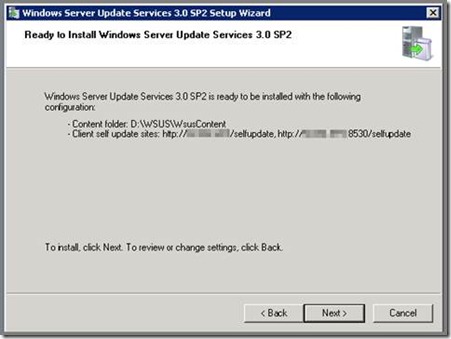
Select “Next”.
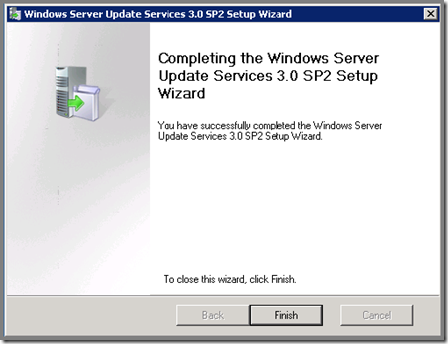
Click on “Finish” to exit the installation.
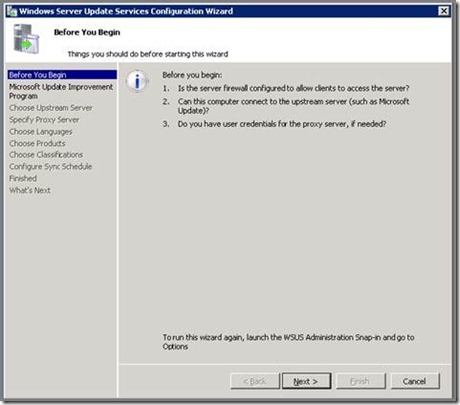
When the WSUS Configuration Wizard pops up after installation, simply select “Cancel”.